winter wonderland December 22, 2010
I saw the cutest winter wonderland ornament tutorial when Vickie Howell linked it this week, and jumped on the chance to make a whole set of them to add to our Christmas decorations!
This is a very sweet project that is super-customizable, depending on your craft stash… I used miniature trees and animals from the Decorette Shop and Bake It Pretty for my little scenes, along with leftover quilt batting for snow, Martha glitter in gold for fanciness, and vintage rick-rack from the Kitten to edge each one. I’ll detail my ornament hacks later on, after some photos.
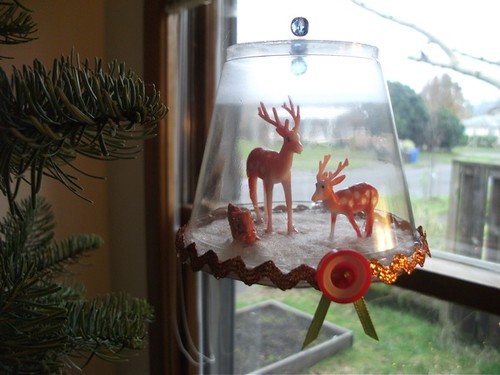
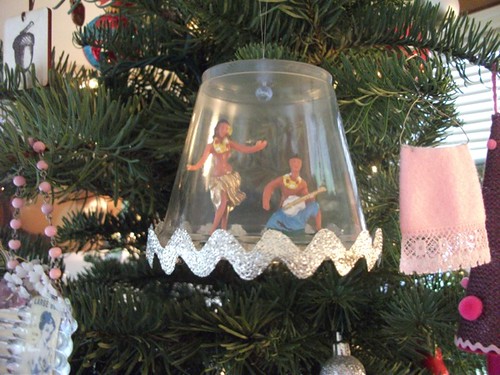
Along with our favorite reindeer and squirrels (the first photo, and the first ornament I made – to make the button + ribbon rosette, you can check this post out), I knew we needed a couple of fancy ballerinas on the tree.
This hula couple ornament is a gift for someone special.
After making four hanging ornaments, I decided to switch things up a little bit and make some winter wonderland mantel terrariums instead. I love how these turned out… the spinning ornament style is cool, and they’re adorable on the tree, but I really love these little stationery worlds.
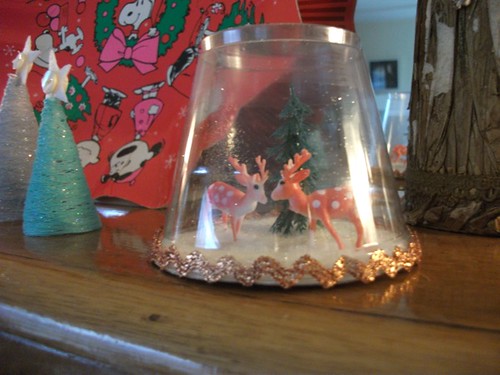
We needed some more reindeer, of course, and then we had to have some super cute bunnies. Pearl dug those the most.
And a friendly gnome visiting with a little pack of squirrels,
and some spun-cotton mushrooms with an evergreen tree for the last one.
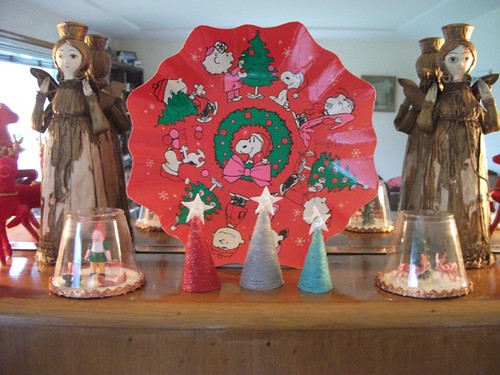
I really love how these teeny winter scenes look on the mantel with all our other little treasures. Pearl’s favorite is the Snoopy Christmas plate, so that is the king of the decorations, but I got to set out my gossamer thread trees from last year, along with a herd of vintage reindeer, two angel candlesticks, two gnomes, two champagne-cork mushrooms and a vintage Santa on a sled.
Updated living room picture! Still need to sew a stocking for Everett (I settled on a fall tree theme!) and one for my mom. And still hoping to make a tree skirt. I might see if there’s a round vintage tablecloth I can cannibalize instead of starting from scratch.
So, the original winter wonderland ornament tutorial is right here, but I made a few changes to mine. I used a hot glue gun to set my little miniatures’ feet in place under the batting snow (instead of tacky glue). I also added a vintage rick-rack trim set in place with tacky glue all the way around the bottom of the cup, and a dab of hot glue to secure the ends, instead of using decorative scissors to edge the cardstock circles (I couldn’t find mine, to tell you the truth, but I like the rick-rack better!). I used a flattened recycled cardboard gift box for my circles instead of the pretty silver cardstock in the original, and a thinner batting left over from quilting projects that I could kind of make landscape-y, instead of the thicker fluffier stuff.
So, two thumbs up for sure. I rarely get the chance to make eight of anything for fun, and this was really nice to do. It’s supposed to be for kids to do with you, and I’m sure older kids would have a blast. I’d say that judging from my afternoon, 2.5 is not old enough to really participate, but definitely the right age to admire the finished ones with a lot of enthusiasm. Maybe next year it will be more of a collaboration between us, I have a dozen more drink cups saved for the next round.
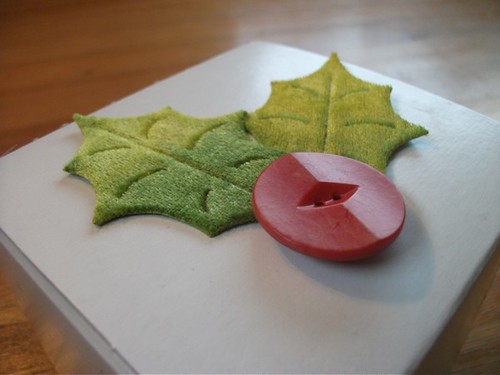
Last little holiday project idea: I added some button-and-holly-leaf embellishments to my Christmas cookie boxes this year! The super-simple how-to is over here on my Button It Up blog if you want to try this one, too – it would be perfect for fancying up a gift box, bag, or canister.
Okay, hopefully I’ll have a new felt stocking, preferably two, to show this week too! I hope your holiday crafting has been fun, if you’re as last-minute as I am…








Leave a Reply