name tags, skirts, + sew expo February 29, 2012
I think I’ll use my Leap Day for a sewing round-up post! I stitched up a PMQG name tag, a Lisette market skirt, and a matching headband in the last little while and I really like all of them.
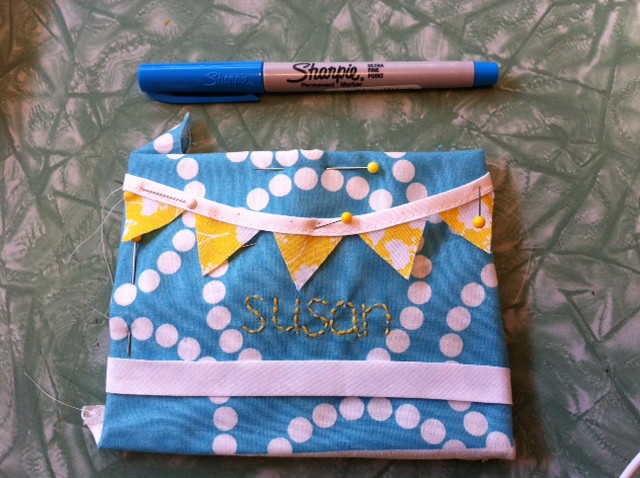
It took me awhile to finish my name tag (you can see a couple dozen awesome ones from February’s meeting over here btw!), because I couldn’t figure out how I wanted to write/print/embroider West Coast Crafty. I was dreaming of Gocco, but finally went super-simple with a lovely turquoise Sharpie from Collage.
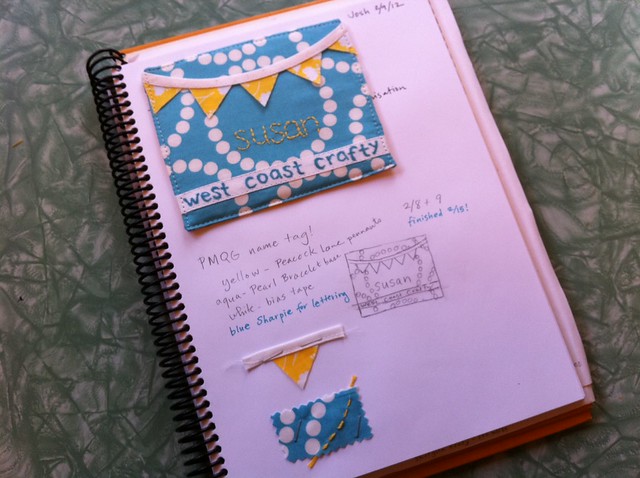
Loving my 2012 craft project journal from Ex Libris Anonymous…
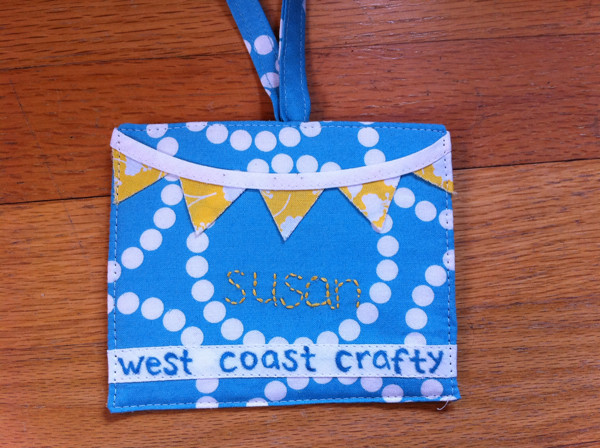
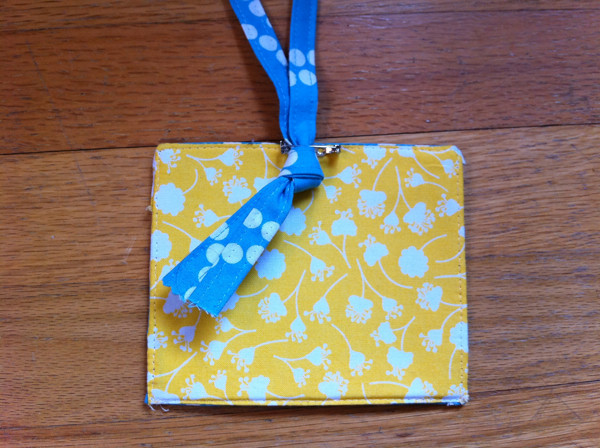
Finished name tag! I used blue Pearl Bracelet from Lizzy House for my main section and binding-tape lanyard, and yellow Peacock Lane from Violet Craft for my pennants, and the back. I embroidered my name, stitched down my bias tape, pinned the pennants in place, and then used Pellon 71F heavy interfacing for it instead of batting, stitched around 3 sides, trimmed and carefully turned it, fully fused it on the back, and then turned the raw edges in on the bottom and top-stitched the perimeter.
I’m confident there’s a prettier way to add the pinback than invisible thread, but oh well. I like the back and that cheery yellow!
At the February meeting (which was completely awesome and included a stellar talk by Kathy Miller and a Cotton Couture color card for each of us!),
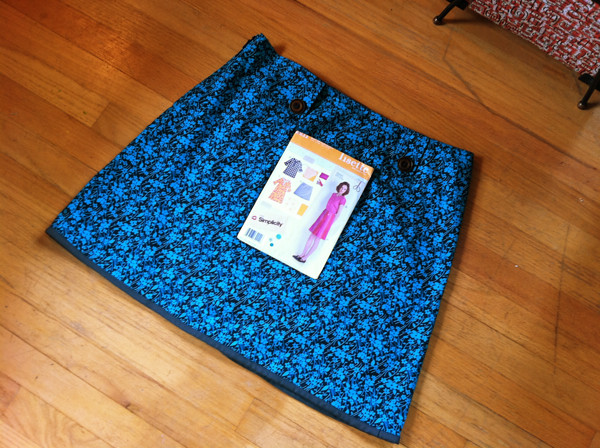
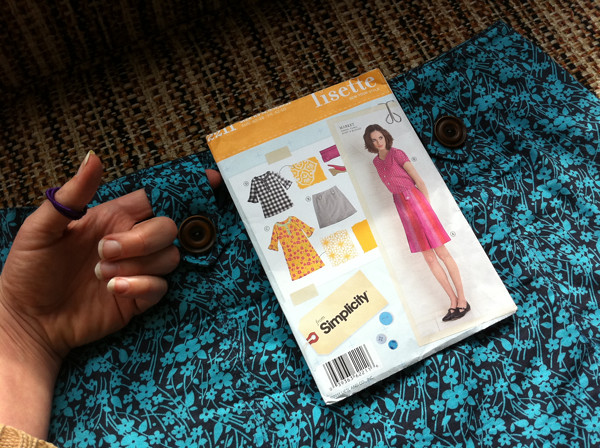
I got to wear my finished Lisette market skirt. Hooray! I bought the Denyse Schmidt fabric at JoAnn at the end of January, started cutting and sewing it at the Fabric Depot All Day Sew and stitched the buttons on the day before the meeting. I really like this pattern.
Here are my thoughts:
1. I made View B which I think is super cute, but it’s short. Really, really short by my late-thirties’ standards (I think 18″) so I “hemmed” it with folded twill tape right over the raw edge, instead of losing any more length. When I sew it again, I’m adding a couple inches to its length for sure!
2. The six pieces (front center + sides, back center + sides), look REALLY similar on your sewing table. I notched them all (thank goodness) and was still struggling to figure out which were front, back, side, center, anything. Don’t unpin them all at once (oops).
3. Choose big, striking buttons for the plackets. I really loved how that defined the skirt style along with the neatly top-stitched panel seams. It’s really cool how the plackets also create an avenue for a belt, tie or scarf, like stylish belt loops.
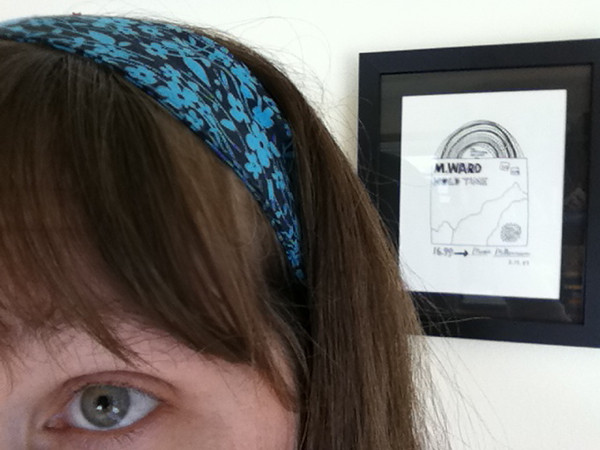
4. This is a nice efficient pattern that will give you good-sized scraps for patchwork – yay – or… a headband! I sewed a headband to match and I really love it, on days where my messy hair is kind of driving me crazy it is a nice polished feeling. If you’d like to make one too, I love Caitlin’s tutorial, I just adapt it a bit for my love of vintage and excessive amount of long, thick hair.
Ok, last sewing thing! I’m really excited for our PMQG field trip to the Sew Expo in Puyallup, Washington this weekend! Nancy, Brittany, Rachel, Kaci, Cherri, Michelle, and I are all heading up to check out the show, the first time I’ve been in 10 years. If you are going too, I’m doing a book signing for both Modern Log Cabin Quilting and World of Geekcraft at the Pendleton Woolen Mills booth on Saturday from 10am-12noon, please come by and say hi and get a free quilt block or magnet kit. I’d love to meet you!





Leave a Reply