a rainbow charm bracelet quilt for Pearl April 3, 2013
I’m so happy to be today’s stop on the Threadbias Quilt Design Tool blog tour!
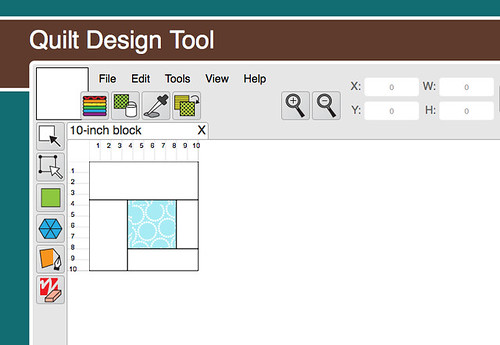
I was invited to try out their fabulous Quilt Design Tool recently, which has been super fun. I have never used any kind of design software before – I always sketch my ideas on paper, then use graph paper to formalize things and get my numbers organized, then start cutting and sewing. The QDT was a very cool departure from my usual analog approach! You can create simple or intricate shapes, maneuver them around very easily, switch colors or fabrics with a single click, set a block, and transform your initial idea into an overall quilt design with tons of flexibility. The program even adds borders and gives fabric requirements, and you can export the design onto your desktop to look at as a whole and get a sense of how it will live as a quilt. At only $10 a month, it’s a wonderful resource and I think it really transforms the design process into something special.
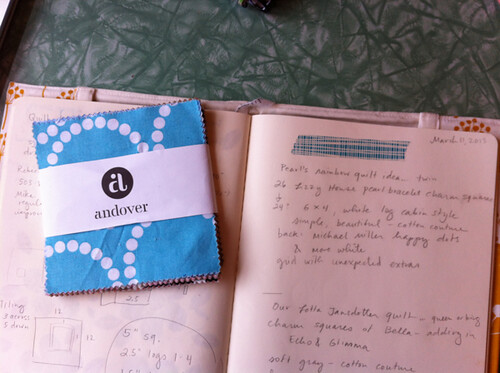
When I was at Quiltcon, I got a beautiful charm pack of Lizzy House’s 26 new Pearl Bracelet colors from the Andover booth, and immediately knew I wanted to make a quilt for my almost-five-year-old daughter, Pearl. She loves rainbows and color, and I pictured a bright, happy design that would grow up with her. The charm squares were such a cool gift, and I wanted to use every bit of the precious 5″ squares, rather than cut them up into secondary shapes, as pops of color on a twin-size quilt she could use on her bed.
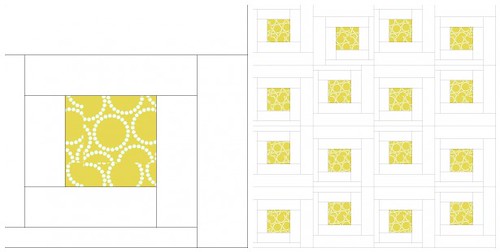
So once I had a chance to work with the Quilt Design Tool, I thought I’d try some different ideas out and see what worked. My first thought was a basic 12″ two-tier log cabin block (I love log cabin!) with a larger, asymmetrical center charm square (that I filled in with yellow Pearl Bracelet from their fabric archives). I used the workspace software to make a simple block layout, then tiled that into a 6 x 4 grid and rotated some of the 24 blocks to create movement throughout the design.
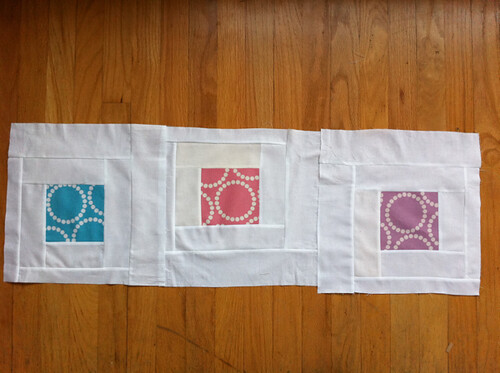
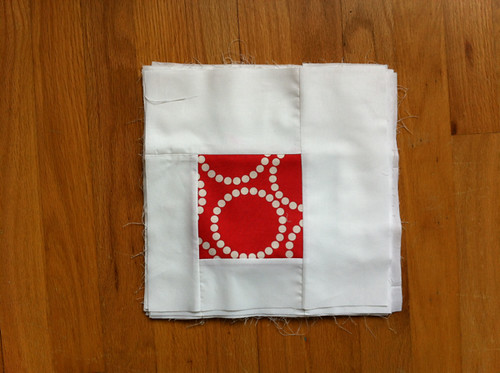
I stitched up three real blocks using these dimensions, mixed in a little off-white in the logs for color interest, then set them out in that rotation to see how I liked it. And it just didn’t do a whole lot! I liked it but I didn’t love it, and I felt like this cool chance to use a design tool, just for quilting, deserved more. So – back to the drawing board, and opening a new workspace.
I kept thinking of roundness, and somehow arranging an array of the small charm squares to create that feeling of a bracelet of color – a beautiful, simple circular design instead of a regular old grid. I could shape the 12″ blocks into a tight, tall oval with some major maneuvering, but they were just too big to make a circle on a twin quilt.
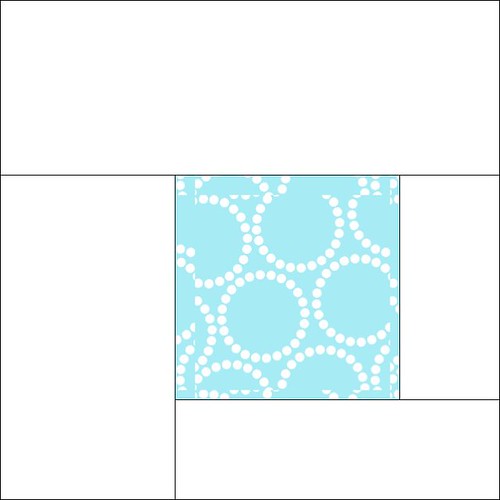
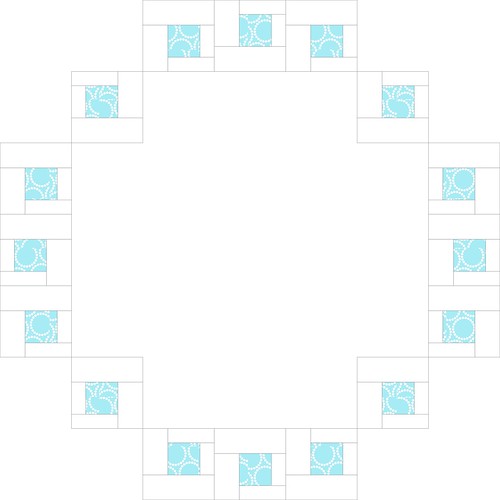
So a couple of math problems later, I reduced my block size and widened my quilt a little bit, and came up with a 10″ one-tier block that offered a lot more flexibility – and even could be coaxed into a symmetrical 16-block circle!
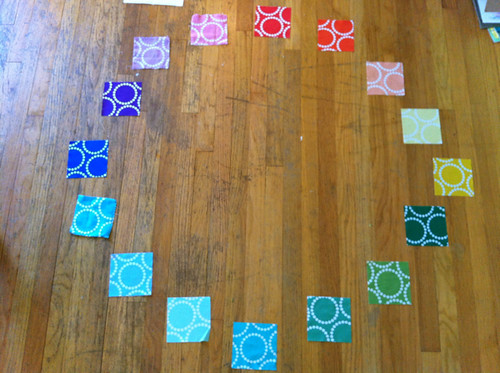
We narrowed the 26 colors of Pearl Bracelet down to 16, and arranged them in a joyful ROYGBIV circle on the dining room floor. Pearl loved this part!
I chain-pieced, pressed, and squared up the blocks. I love how quilt blocks look in a neat stack.
Here’s how the top mini-row of three will look in the bracelet. It’s very similar to my first idea, but the fact that it’s the top section of a circle instead of the heart of a grid just really gives it a lot more life, I think.
I used the Threadbias design tool to fill in the other parts of the quilt (inside and outside of the circle), and get the measurements for cutting and piecing each section into a whole. This was really handy and made the math and other arrangements very quick.
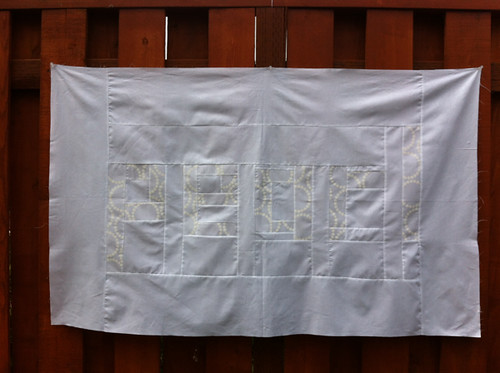
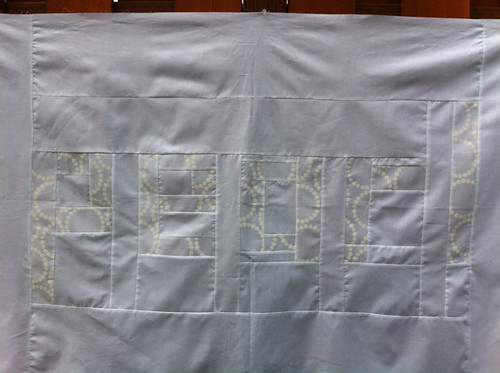
With such a generous circle design, a huge section of the center was a completely blank slate. I love improvisational piecing and writing messages in my quilts (like the “good night” quilt back I worked on for the PMQG Quiltcon charity quilt) so I pieced a subtle, large-scale “pearl” in white-on-white Pearl Bracelet, against Michael Miller Bright White Cotton Couture. For reference, this section measures 51″ wide by 30″ tall.
Pearl loves that her name is in the quilt. She is just learning to read and it made her super happy to see it there.
I had hoped to have the top all done for today, but here’s where I’m at:
so I’ll be sharing the finished Rainbow Charm Bracelet top at our April 18 PMQG meeting, and I’m super excited to hand it off to Nancy to quilt! Speaking of PMQG, Threadbias has generously offered a prize of a free month of the Quilt Design Tool (!) to a lucky winner… and instead of giving it away through comments here, we’ll draw a name at the meeting! They’re also offering a nice bonus to PMQG members, which you’ll hear more about then too.
Don’t miss the rest of the blog tour – there are some wonderful reviews and quilts up already, and Jen will be reviewing the QDT for Sew, Mama, Sew tomorrow!
Monday, March 25 – Freshly Pieced
Tuesday, March 26 – Don’t Call Me Betsy
Wednesday, March 27 – Generation Q Magazine
Thursday, March 28 – The Sometimes Crafter
Friday, March 29 – Diary of a Quilter
Monday, April 1 – Swim, Bike, Quilt
Tuesday, April 2 – Fresh Lemons Quilts
Wednesday, April 3 – West Coast Crafty
+ Portland Modern Quilt Guild (me!)
Thursday, April 4 – Sew, Mama, Sew!
Friday, April 5 – Alison Glass
Saturday, April 6 – Pink Castle Fabrics
Sunday, April 7 – Ellison Lane Quilts
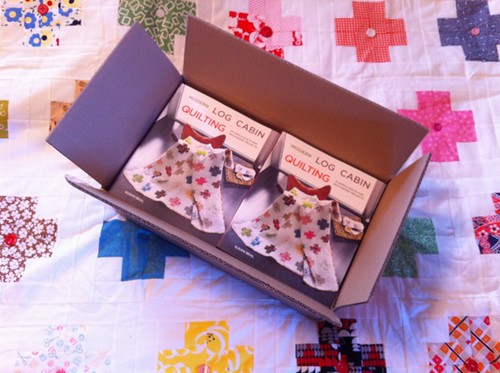
Thank you to Andover for the gift of the Pearl Bracelet charm pack and to Threadbias for the chance to review the Quilt Design Tool! (I bought my Bright White Cotton Couture and the additional white Pearl Bracelet at Fabric Depot here in Portland.) If you’re interested in more detail on my cutting, chain-piecing, and row assembly methods, you can check out my book, Modern Log Cabin Quilting. Thanks, and happy Wednesday!






Leave a Reply